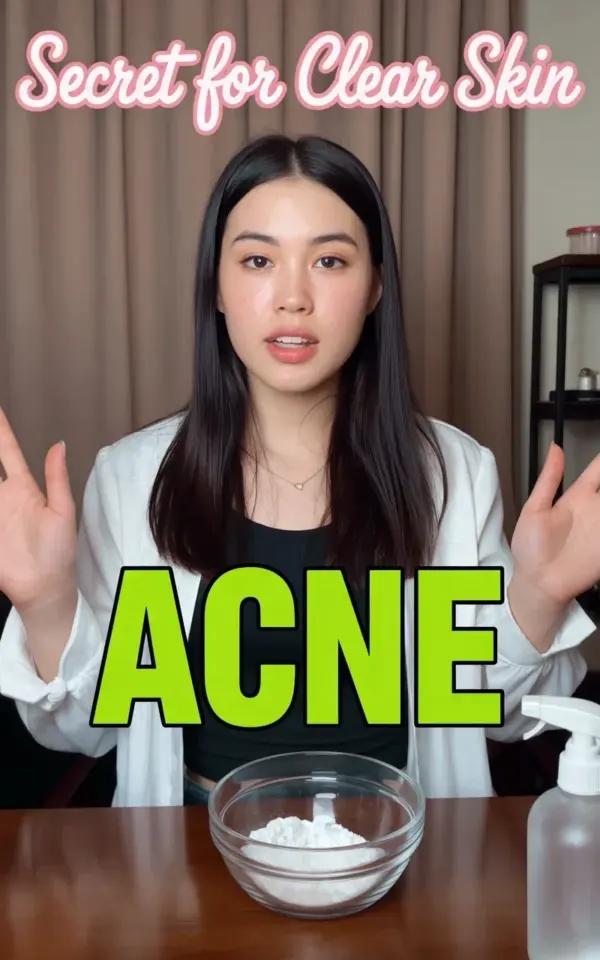
There’s a screenshot I keep returning to. A woman with long straight black hair stands at a wooden table, hands raised as if she’s saying “wait, watch this,” and behind her the screen screams “ACNE” in neon green letters. At the top, in pink cursive, it reads “Secret for clear skin.” I clicked it because, honestly, I’ve been fighting breakouts since I was thirteen, and I’ll try almost anything once. Then I saw the clear glass bowl filled with plain white powder, and I thought, here we go again. But I watched, and a week later my skin genuinely did look calmer. That’s a real thing I can say without exaggeration.
What I actually found in that viral Korean skincare video
The woman didn’t use anything fancy. She mixed white powder with water in that glass bowl, spread the paste over her face, waited for it to dry, and rinsed it off. No expensive serums, no ten-step routine in the original clip. The comments were full of people saying they tried it and their skin cleared up, which should have smelled like a scam, but the video was so casual about the whole thing that I trusted it.
The powder was almost certainly rice flour. I later looked it up and learned that rice flour has been part of intimate Korean household skincare for ages, not as a cure, but as a gentle way to manage oil and texture. I bought a small bag of regular white rice flour from the Asian grocery store, not the sweet glutinous kind, for about three dollars. That bag will last me months.
The DIY acne mask recipe I used, plus the one change I made
Here’s the recipe exactly as I made it: two tablespoons of rice flour, one tablespoon of lukewarm water. Mix it in a small bowl until it forms a paste that’s thick but spreadable, like thin peanut butter. That’s it. The woman in the video used just those two ingredients, so I did too the first time.
The second time I added a tiny drop of honey because my skin was flaking around the edges, and honey happens to be a decent anti-bacterial if you’re into that. I can’t tell you if the honey did anything, but my face smelled like breakfast and that made the experience more fun. Apply a thin layer with your fingers, not a thick cake mask. Thicker doesn’t mean better; it just means longer drying time and more tightness for no reason.
How to apply the mask the Korean way, without wrecking your skin
The removal step matters more than the mask itself. Do not scrape it off when it’s dry and cracked. That’s a fast track to micro-tears and redness, which is the last thing acne-prone skin needs. Instead, wet your fingertips with warm water and massage your face in small, slow circles. The rice flour will soften and turn into a milky liquid, and that’s when it works as a very fine physical exfoliant.
I did this routine twice a week for seven days, not every single night. My skin gets agitated easily, and over-exfoliating is a real possibility when you use anything even mildly abrasive. The mask should feel like a gentle scrub, not a sanding session. If it stings or burns, wash it off immediately and don’t push through.
My before and after after seven days of this DIY mask
I took a photo on day one, and I took another on day seven because I didn’t trust my memory. Before: three active pimples, one of them the deep, painful kind that made me avoid lying on my left side, plus a forehead full of small closed comedones that never seemed to go away. After one week, those closed bumps were mostly gone, the deep one had shrunk to a red shadow, and my skin felt smooth in a way that surprised me. Here’s the honest breakdown:
- The overall redness calmed down within two days, even around the spots that hadn’t surfaced yet.
- My forehead texture improved dramatically. The little bumps eventually flaked off in tiny, barely visible pieces during the second mask.
- My skin stopped getting shiny by mid-afternoon. I used to blot at work, and by day five I’d stopped reaching for the papers.
- My coworker, who never comments on anything, asked if I had gotten a facial. I said I watched a video on the internet, and she laughed, but she meant it.
What you should know before you try this rice flour mask
Patch test first. I know it’s boring, but I did a small patch on my jawline and waited twenty-four hours before putting this all over my face. If you’re allergic to rice, or if you have broken skin, avoid it completely. This is a gentle routine, not a cure for open wounds or cystic flare-ups that have popped. You should never scrub damaged skin, period.
Use a clean bowl and clean hands, and don’t leave the mask on for longer than fifteen minutes. At around the twelve-minute mark, it starts to tighten and pull at your skin, which feels uncomfortable. My cat walked into the bathroom while
Leave a Comment