Why I Started a Night Gua Sha Routine (and Why You Should Too)
After a long day, my face usually feels tight, puffy, and kind of blah. That is exactly why I finally built a night gua sha routine into my eveningskincare. I had seen the celebrity estheticians rave about it for sculpting a sharper jawline and getting that elusive glowyskin, but I never thought I could do it on a budget. Turns out, a good stone costs less than a fancy dinner out. And the best part? This face massage tutorial works even if you have never touched a gua sha tool before. It helps drain lymphatic fluid, release jaw tension from clenching all day, and honestly helps me sleep better too. I am going to walk you through the exact steps I use every night, with zero expensive gadgets or complicated creams.
What You Actually Need for a Budget Friendly Face Massage Tutorial
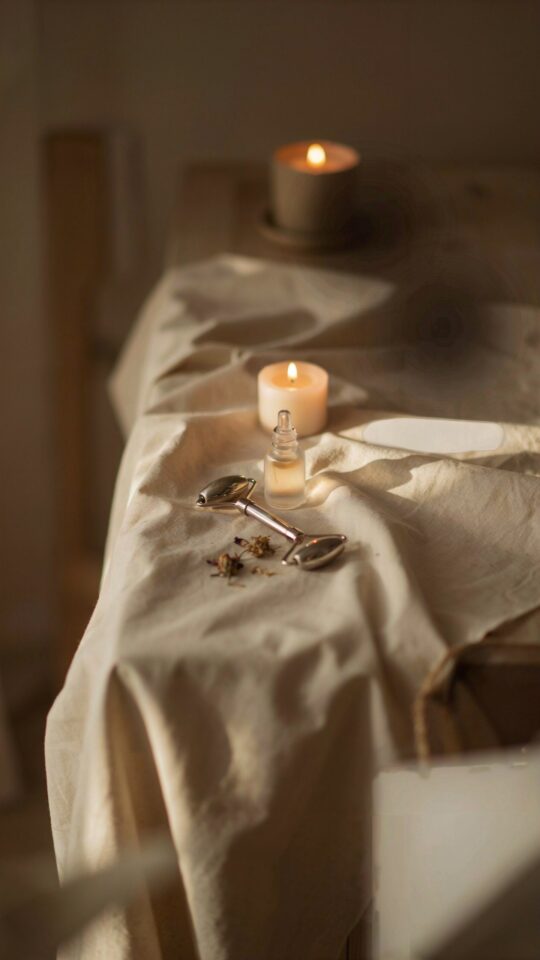
You do not need a $80 rose quartz set. I picked up a simple jade gua sha tool from a local health store for twelve dollars. It does the exact same job as the fancy ones. A small bottle of jojoba oil (or even plain grapeseed oil from the grocery store) is enough for slip. Your face must have enough glide so the stone does not drag or pull your skin.
- Stone: Jade or rose quartz, flat edge and a curved notch. Avoid sharp edges.
- Oil: Jojoba, squalane, or even a lightweight moisturizer if your skin is not super dry. No coconut oil if you are prone to breakouts.
- Clean hands and face: Always start with a double cleanse. Your routine will be wasted on dirty skin.
- Optional but helpful: A small cloth to wipe excess oil and a pillow that supports your neck while you do the moves lying down.
That is it. No fancy gua sha board, no LED mask needed. The real magic is in the technique, not the price tag.
Step 1: Prep Your Skin for Jawlinesculpting and Lymphatic Drainage
Before you touch the stone, warm a few drops of oil between your palms. Press it gently into your face and neck. This is not a deep massage yet, just enough to coat everything. I like to start with my neck because the lymph nodes sit right along the collarbone. Take three slow breaths here. It signals your nervous system to switch from daytime mode to rest mode. For better jawlinesculpting results, spend an extra ten seconds on the sides of your jaw, where you feel tension.
Step 2: The Core Neck and Jaw Moves for This Night Gua Sha Routine
Hold the stone flat against your neck, notch facing up. Starting at the collarbone, glide upward along the side of your neck. Never drag downward; that pushes fluid the wrong way. Repeat five times on each side. Then switch to the wider flat edge and move from the center of your chin outward along the jawbone toward your ear. This is the move that celebrities swear by for a more defined line. I do it slowly, counting to four on each stroke. If you hit a tight spot, hold the stone there for a breath. That releases the muscle knot much faster than fast rubbing. This part of the face massage tutorial is great for people who grind their teeth or wake up with a sore jaw.
Step 3: Cheek and Under Eye Moves for Glowyskin
Now take the curved notch and place it under your cheekbone near your nose. Glide outward and slightly upward toward your temple. This moves fluid out of the puffiest areas of your face. Repeat three times per side. For the under eye area, switch to the smallest curved edge. Gently tap or very lightly stroke from the inner corner outward. You do not need to press hard at all. The skin there is thin. Doing this nightly reduces that morning puffiness and gives you that glowyskin look because circulation increases. I have noticed my complexion looks less dull after just a week.
Step 4: Sculpting the Jawline with the Contour Edge
Take the long curved edge of the stone and place it along your jawbone, starting at the chin. Pull outward toward the ear, keeping the stone flat against the bone. This move directly targets jawlinesculpting. I like to do it while watching a show because it feels so good. Do five passes on each side. Then do the same motion under your chin, from the middle outward toward the ears. That firms up the area that often feels loose. The key is steady pressure, not hard pressing. If you feel a grain or a knot, pause and breathe. That tension is exactly what you want to release for a sharper silhouette.
Step 5: Forehead and Temple Release for Better Sleep
I never skip this part because it directly helps me sleep better. Use the flat edge of the stone and start at the center of your forehead. Glide outward toward the temples. Three slow strokes. Then hold the stone against your temples for five seconds. That little pause signals your brain to relax. Finish by moving the stone from your third eye (between your brows) up into your hairline and then down the sides of your head. This mimics the motion of a scalp massage. It releases the tension that builds up from staring at screens all day. After this step, I always feel my eyelids getting heavy. That is the point. This night gua sha routine is not just about looking good, it is about unwinding for real.
Cleaning and Storing Your Tool (Don’t Skip)
After you finish, rinse your gua sha stone with warm water and a mild soap. Pat it dry with a cloth. Do not let oil sit on it overnight, especially if it is porous jade. Store it somewhere dry, like a small pouch or a clean spot on your vanity. A damp stone can grow bacteria. I keep mine next to my pillow so I do not forget. Also wash your face again
#nightguasharoutine #facemassagetutorial #glowyskin #jawlinesculpting #eveningskincare
Leave a Comment